How to Install a Travel eSIM (iPhone & Android)
Installing a travel eSIM takes about two minutes, and once you have done it once it never feels intimidating again. The process is nearly identical whether you are on an iPhone or an Android phone, with a few naming differences. This guide walks through both, then covers the three settings that trip people up after installation — the ones that make travellers think their eSIM is broken when it is working perfectly.
Before you start
Two quick checks save a lot of frustration. First, confirm your phone supports eSIM and is not locked to your home carrier — we cover how to test this in our eSIM basics guide. Second, and this is the big one, install your eSIM while you still have a reliable internet connection at home. You need WiFi or mobile data to download the eSIM profile. Trying to install it after you land, before you have any signal, is the classic rookie mistake.
You do not need to activate the plan at home — most providers only start the validity countdown when the eSIM first connects to a network in your destination. Installing early and activating on arrival is exactly how it is meant to work.
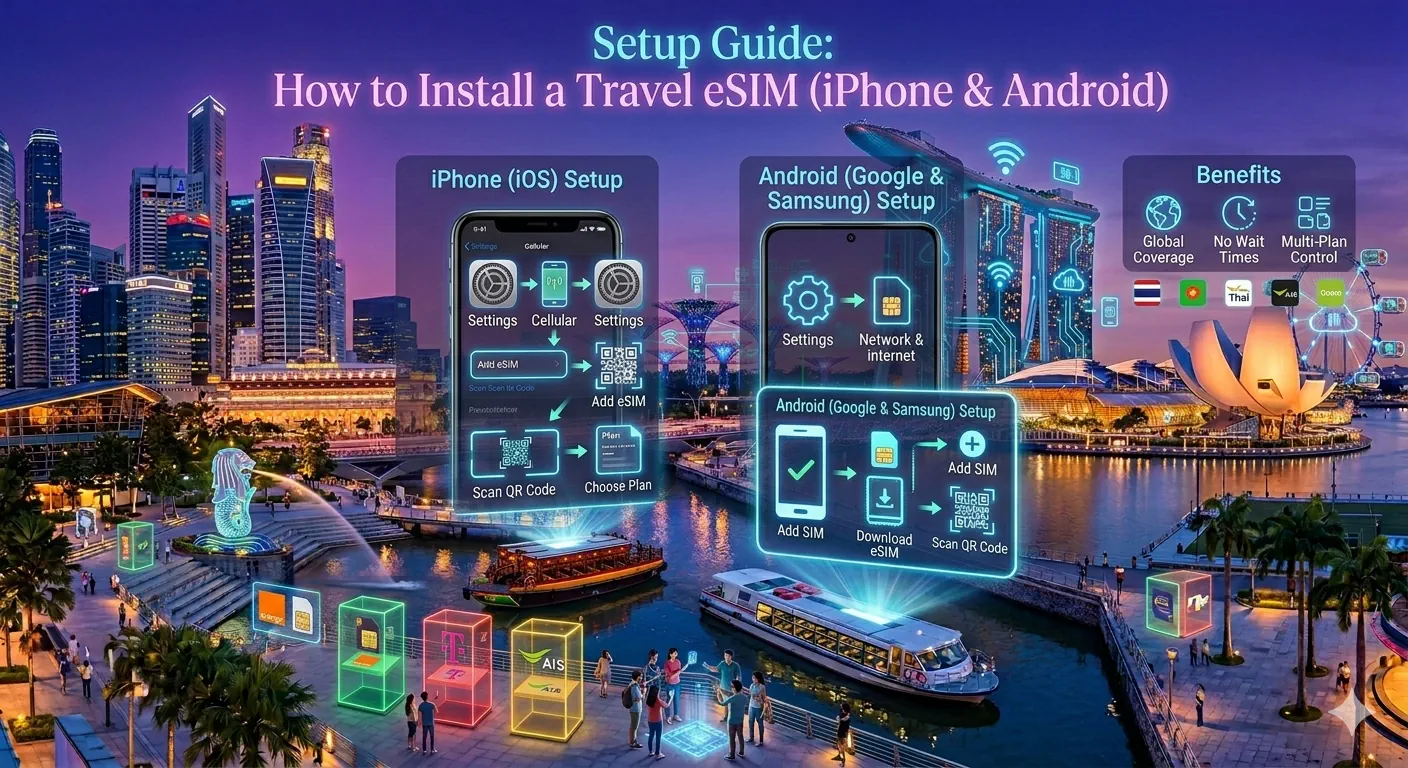
Installing on an iPhone
After you buy a plan, your provider will email you a QR code. The smoothest method is to view that QR code on a second screen — a laptop or a partner's phone — so you can scan it with the iPhone you are setting up.
- Open Settings and tap Mobile Service (older iOS calls this Cellular or Mobile Data).
- Tap Add eSIM, then Use QR Code.
- Point the camera at the QR code and let it scan.
- Follow the prompts to add the plan. When asked, give it a clear label like "Travel" so you can tell it apart from your home line.
- Choose your home SIM as the default line, and set the new eSIM for mobile data when you arrive.
If you only have the QR code on the same iPhone, most providers also offer a one-tap install link or let you enter the activation details manually under "Enter Details Manually". Either route ends in the same place.
Installing on Android
Menu names vary a little between Samsung, Pixel and other brands, but the flow is the same.
- Open Settings and go to Connections or Network & internet.
- Tap SIM manager or SIMs, then Add eSIM or Download a SIM instead.
- Scan the QR code from your provider.
- Confirm the download and give the plan a recognisable name.
- Leave it switched off until you arrive, or switch it on now if you are already at your destination.
The three settings travellers forget
This is the part worth reading twice. When people say "my eSIM does not work", it is almost always one of these three things rather than a faulty plan.
1. Set the eSIM as your data line
Installing a plan does not automatically route your data through it. Once you land, go into your mobile data settings and select the travel eSIM as the line used for mobile data. On iPhone this is Settings → Mobile Service → Mobile Data. On Android it is in SIM manager under "Mobile data".
2. Turn on data roaming for the eSIM
This sounds wrong, but it is correct. A travel eSIM connects to a local partner network, which technically counts as roaming, so the eSIM line needs Data Roaming switched on to work. This does not cost you anything extra — your plan is already paid for — and it only affects the eSIM line, not your home number. Leave your home SIM's roaming switched off and you will not be charged by your home carrier.
3. Switch off data on your home SIM
To be completely safe from accidental roaming charges, turn off mobile data and data roaming for your home line entirely. Keep the line itself active so you can still receive bank verification texts and the occasional call, but route every byte of data through the eSIM.
In short: eSIM on for data, eSIM roaming on, home SIM data off. Get those three right and you are connected.
What to do when you arrive
Step off the plane, switch off airplane mode, and give it a minute. Your phone will search for the local partner network and connect automatically. If nothing happens after a couple of minutes, toggle airplane mode on and off once, or manually select a network in your settings. That manual network refresh fixes the vast majority of "no signal" moments.
Don't have a plan yet?
Buy and install before you fly. A widely supported provider like Airalo lets you pick your destination, choose a data size, and receive your QR code by email within minutes.
That is the whole process. Once you have installed one eSIM, every future trip is the same handful of taps. For help choosing how much data to buy and which provider suits your route, browse our destination guides.